Guide to a 14-Day Aftercare Plan for Microblading
After getting a microblading treatment, it is important to be informed about the post-treatment process to ensure a smooth recovery.
The importance of caring for your eyebrows post-treatment.
After a microblading procedure, it is important to take extra care of the eyebrows and the affected areas. The process involves cutting into the skin to insert pigments, similar to getting a tattoo. Therefore, aftercare for microblading is crucial to ensure proper healing and results.
The procedure of microblading is generally safe, and the skin will regenerate with each stroke. The skin's healing process may vary depending on the type and condition of the injury.
It is important to take care of your skin during the healing process for optimal results. Aftercare plays a significant role in ensuring the pigment lasts beautifully on your skin.
What To Expect After Microblading
Understanding the microblading healing process is essential for achieving your desired eyebrows. Here is a guide from day 1 to day 30 to help you through the healing stages.
DAY 1
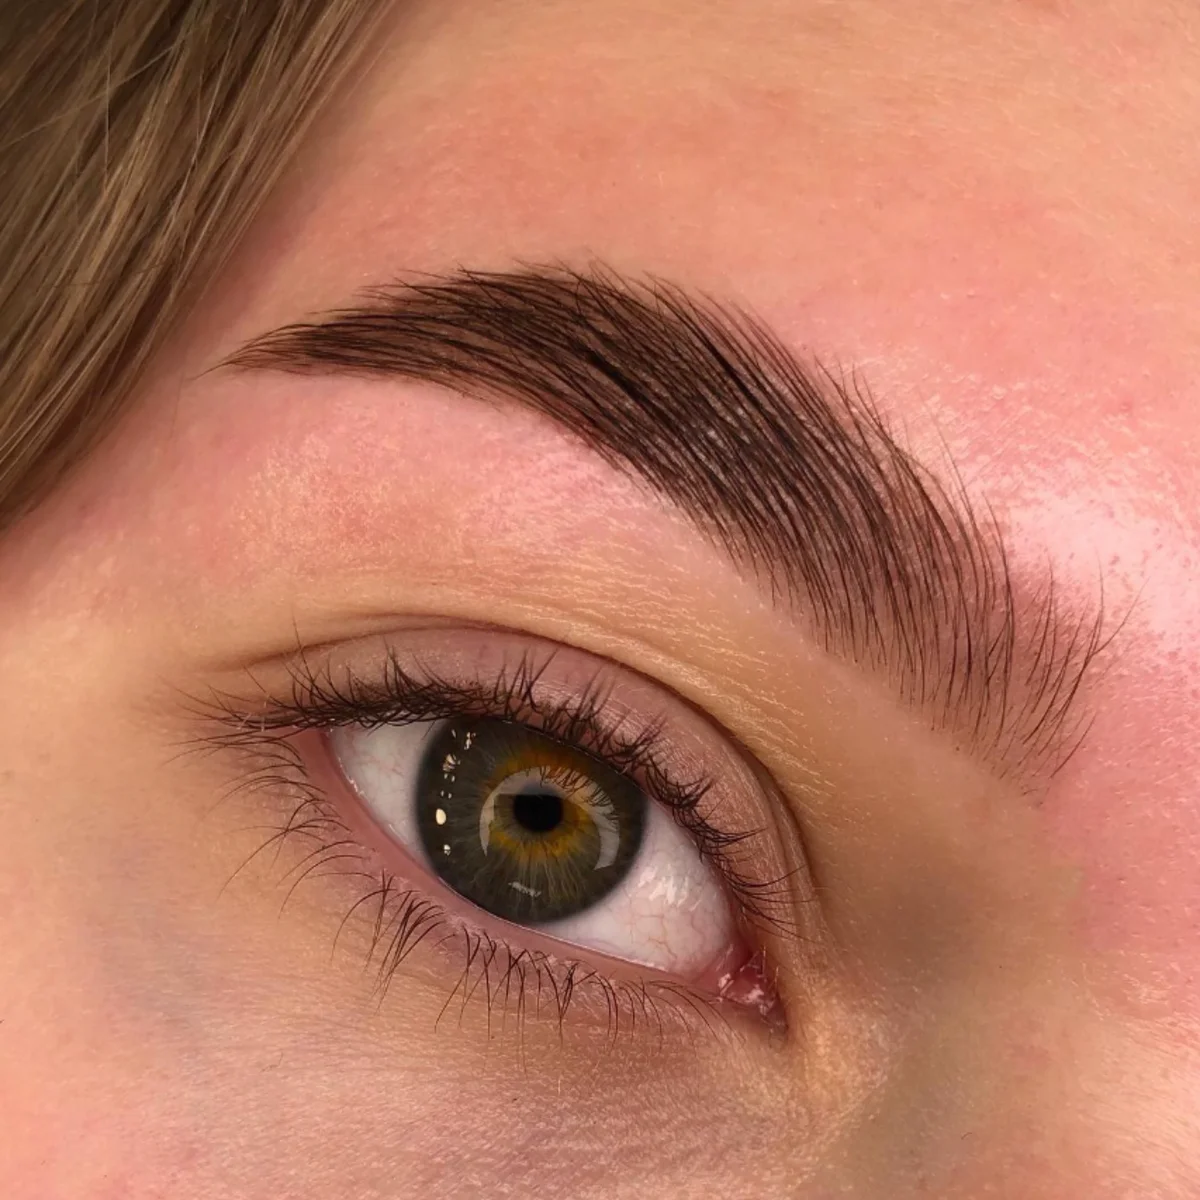
On the first microblading day, you may feel excited to transform your patchy and uneven brows. After the procedure, you will have natural-looking hair strokes that you are proud to show off. It can be a rewarding experience.
The brows appear textured, dense, and slightly red after the procedure. The bold colour may make you feel like a different person. They may look more dramatic if you're not used to filling them in. They may feel tender and slightly swollen, and you may experience slight bleeding. However, these effects are temporary and will subside quickly.
DAY 2-4
On day 2, your brows will darken but will eventually lighten up again. They may appear reddish, tender, and slightly thicker in texture compared to the previous day.
Changes in your eyebrows may be noticeable to you, but it is likely that you are more aware of them than others are.
DAY 5-8
During this time, your brows will be flaking and scabbing off. The affected area may become itchy, but this is a normal part of the healing process. It is important not to pick or remove the scabs, as this can lead to pigment loss, irritation, and potential infection.
Scabs will naturally fall off when ready, so avoid contacting your artist with questions or accusations. The scabbing on your face indicates your body is healing itself. This is a normal part of the healing process, similar to other tattoos you may have had before.
DAY 9-10
After microblading, your brows may appear lighter and as if they have faded. It is crucial to keep the wounds closed during this stage of healing. If you feel self-conscious about the temporary look, rest assured that your brows will improve in the coming days. Avoid applying makeup on your healing brows, as it could harm your skin.
DAY 10-21
You may notice that your brows look patchy at this stage but don't be discouraged. The healing process is almost complete. Soon, you can enjoy a shorter makeup routine and have waterproof brows for beach days.
DAY 30
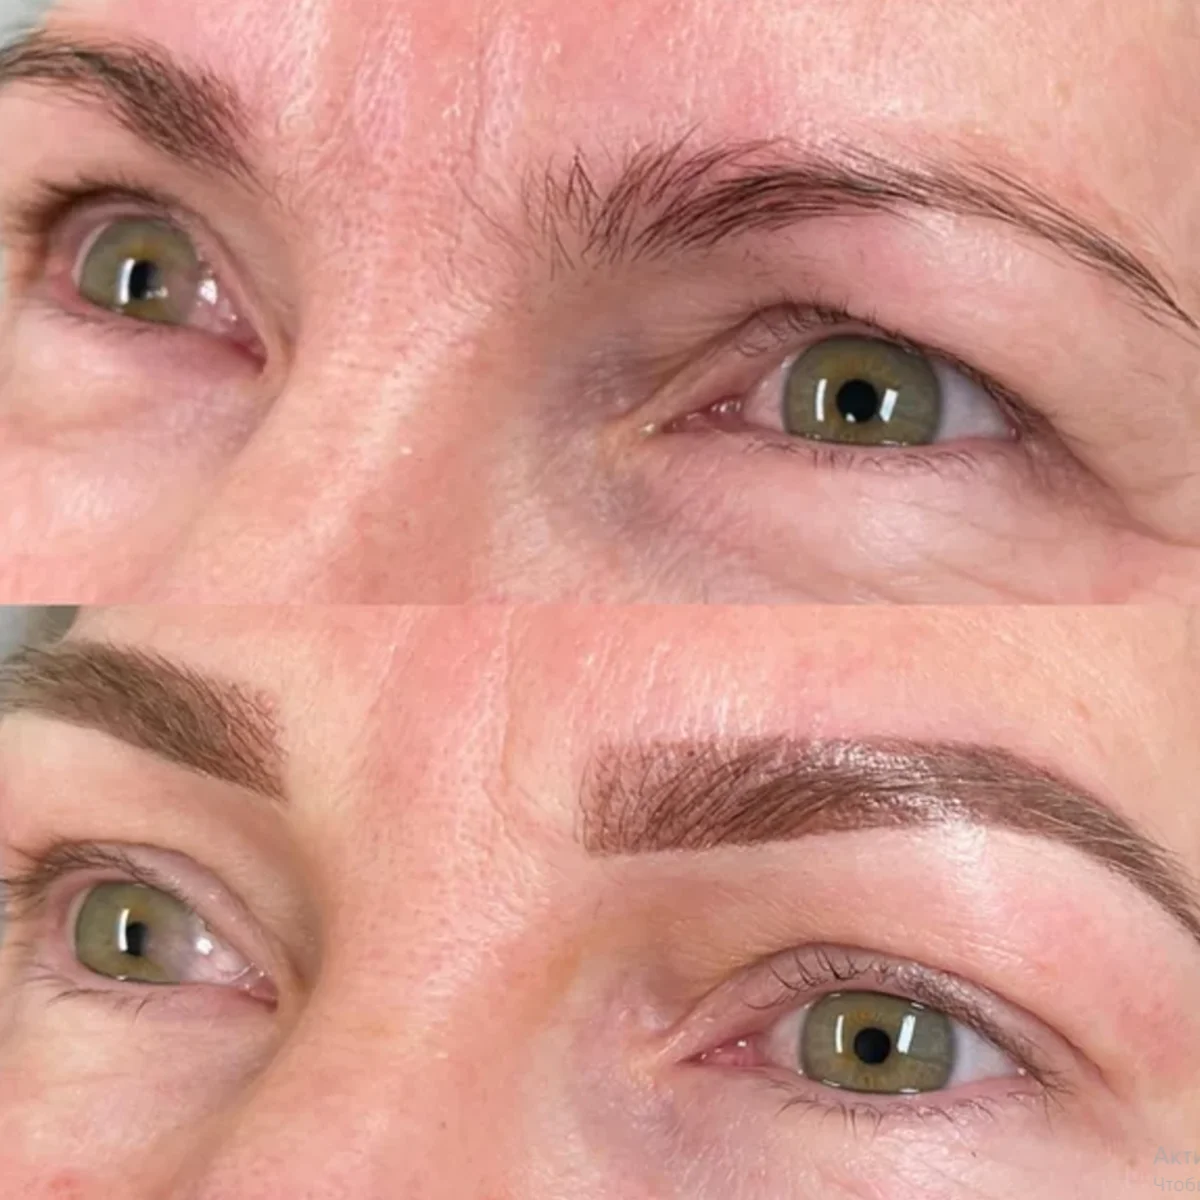
Your healing process has finished, and your skin has fully recovered. Your eyebrows are looking better than ever.
At this stage, you can review and make any desired adjustments. Some areas may have slight pigment loss, depending on how well your skin absorbed the colour, but this is normal. Your next appointment should be scheduled soon.
Guide for Microblading Aftercare Steps
This is a summary of your 30-day microblading process. Following the 14-day aftercare instructions is crucial to ensure safety and optimal results.
On the day of treatment, absorption occurs
On the day of treatment, use a clean tissue to gently pat the affected area and remove excess lymph fluid. It is important to do this throughout the day until the bleeding ceases to prevent lymph hardening.
Day 1-7: Wash and moisturize
During days 1-7, washing the area twice a day using water and an antibacterial soap such as Cetaphil is recommended. Gently rub the area for 10 seconds and rinse thoroughly to remove dead skin and bacteria. Use clean fingertips to cleanse the area carefully.
After washing, apply the aftercare ointment and avoid using skincare products with exfoliants or acids.
Day 8-14: Continue washing the area twice a day
Applying the aftercare ointment twice daily can help accelerate the healing process of your eyebrows and affected areas. It can also provide hydration and moisture to your skin.
What not to do
In addition to following all the steps above, certain things should be avoided to achieve the best possible outcome.
- Performing heavy household cleaning tasks may expose you to micro dust from areas like the garage, which can potentially cause irritation and infection.
- Drivers in open-air vehicles, such as convertibles, boats, bicycles, or motorcycles, should be aware that airborne debris can potentially cause injury to the sensitive skin around the eyebrows.
- Engaging in activities that promote perspiration, such as sports and sauna sessions.
- Exposure to UV/UVA rays from the sun or tanning salons can lead to changes in pigmentation and premature fading of colour.
- It is important to avoid picking, peeling, or scratching the micro pigmented area, as it can lead to scarring or removal of the pigment.
- Consuming excessive amounts of spicy foods and alcohol can contribute to delayed wound healing.
Following the 14-day post-treatment period, individuals can resume their normal routines and activities. It is recommended to consider the aftercare tips and process for the entire 30-day microblading journey.
What To Avoid Putting In The Eyebrows
In addition to the post-treatment tips mentioned earlier, here are some things to consider.
- It is important to avoid getting water, lotion, soap, or makeup on your eyebrows during the first seven days of aftercare for microblading. This includes keeping your face dry while showering.
- Avoid using cleansers with acids or exfoliants.
- Refusing laser or chemical treatments, peels, or creams that contain Retin-A or glycolic acid on the face or neck is recommended.
- It is recommended to refrain from getting facials, botox, or peels for four weeks.
- It is important to refrain from wearing makeup or using skincare products on your brows until they have fully healed, as the pigments need time to settle into the cuts on your skin from the blading process.
Steps to Take When Facing Complications
If any signs or symptoms develop, it is recommended to contact a physician.
- fever
- Symptoms may include redness or swelling in the affected area.
- Sensitivity at the site of the procedure
- elevated body temperature
- There are red streaks extending from the microbladed area towards the heart.
- Green or yellow discharge with a foul odour.
Although rare, it is important to maintain cleanliness and prevent infections during the aftercare of microblading to minimize the risk of complications.
Time for a retouching session
After completing the 14-day aftercare process and the 30-day microblading journey, it is time to enhance the beauty of your eyebrows.
It is important to remember that your eyebrows are not fully finished until after the second microblading session. A touchup session after four weeks is necessary as healing varies for everyone. How well you follow the aftercare instructions may also influence the final result. The touchup session typically lasts about an hour, depending on your skin's reaction to the initial procedure.
During the touch-up session for microblading, certain brow areas may require more pigment due to factors such as oily skin or the need for adjustments in colour and thickness.